Showing posts with label DIY. Show all posts

Saturday, December 8, 2012

Guest post on Poppytalk today!

I am so thrilled to be a guest poster on Poppytalk today sharing my winter scene jar tutorial I did last winter!

Head on over to Poppytalk to take a look!


In the new year I will be sharing a new project that I am working on as Hello, Fletcher! which is currently the name of my etsy shop! Stay tuned for more DIY's, class news and other crafty goodness!


Sunday, July 8, 2012

DIY: a painted mason jar travel mug (with a CUPPOW!) and a giveaway!

Note! July 18th! I used my jar for a smoothie for the first time today and I have very bad news... I am not sure if it was the cold of the smoothie mixed with the warm for my hands but the sharpie all but fell off in my hands. This is very very bad news for my tutorial, but have no fear I have so glass paint markers on the way! I will be re-doing this project with the glass paint, to let you know the outcome, and I might just do another giveaway too!

When my friends over at Delish Magazine opened up an online shop called The Delish General Store I knew I had to have one of the products they carried called the Cuppow! 

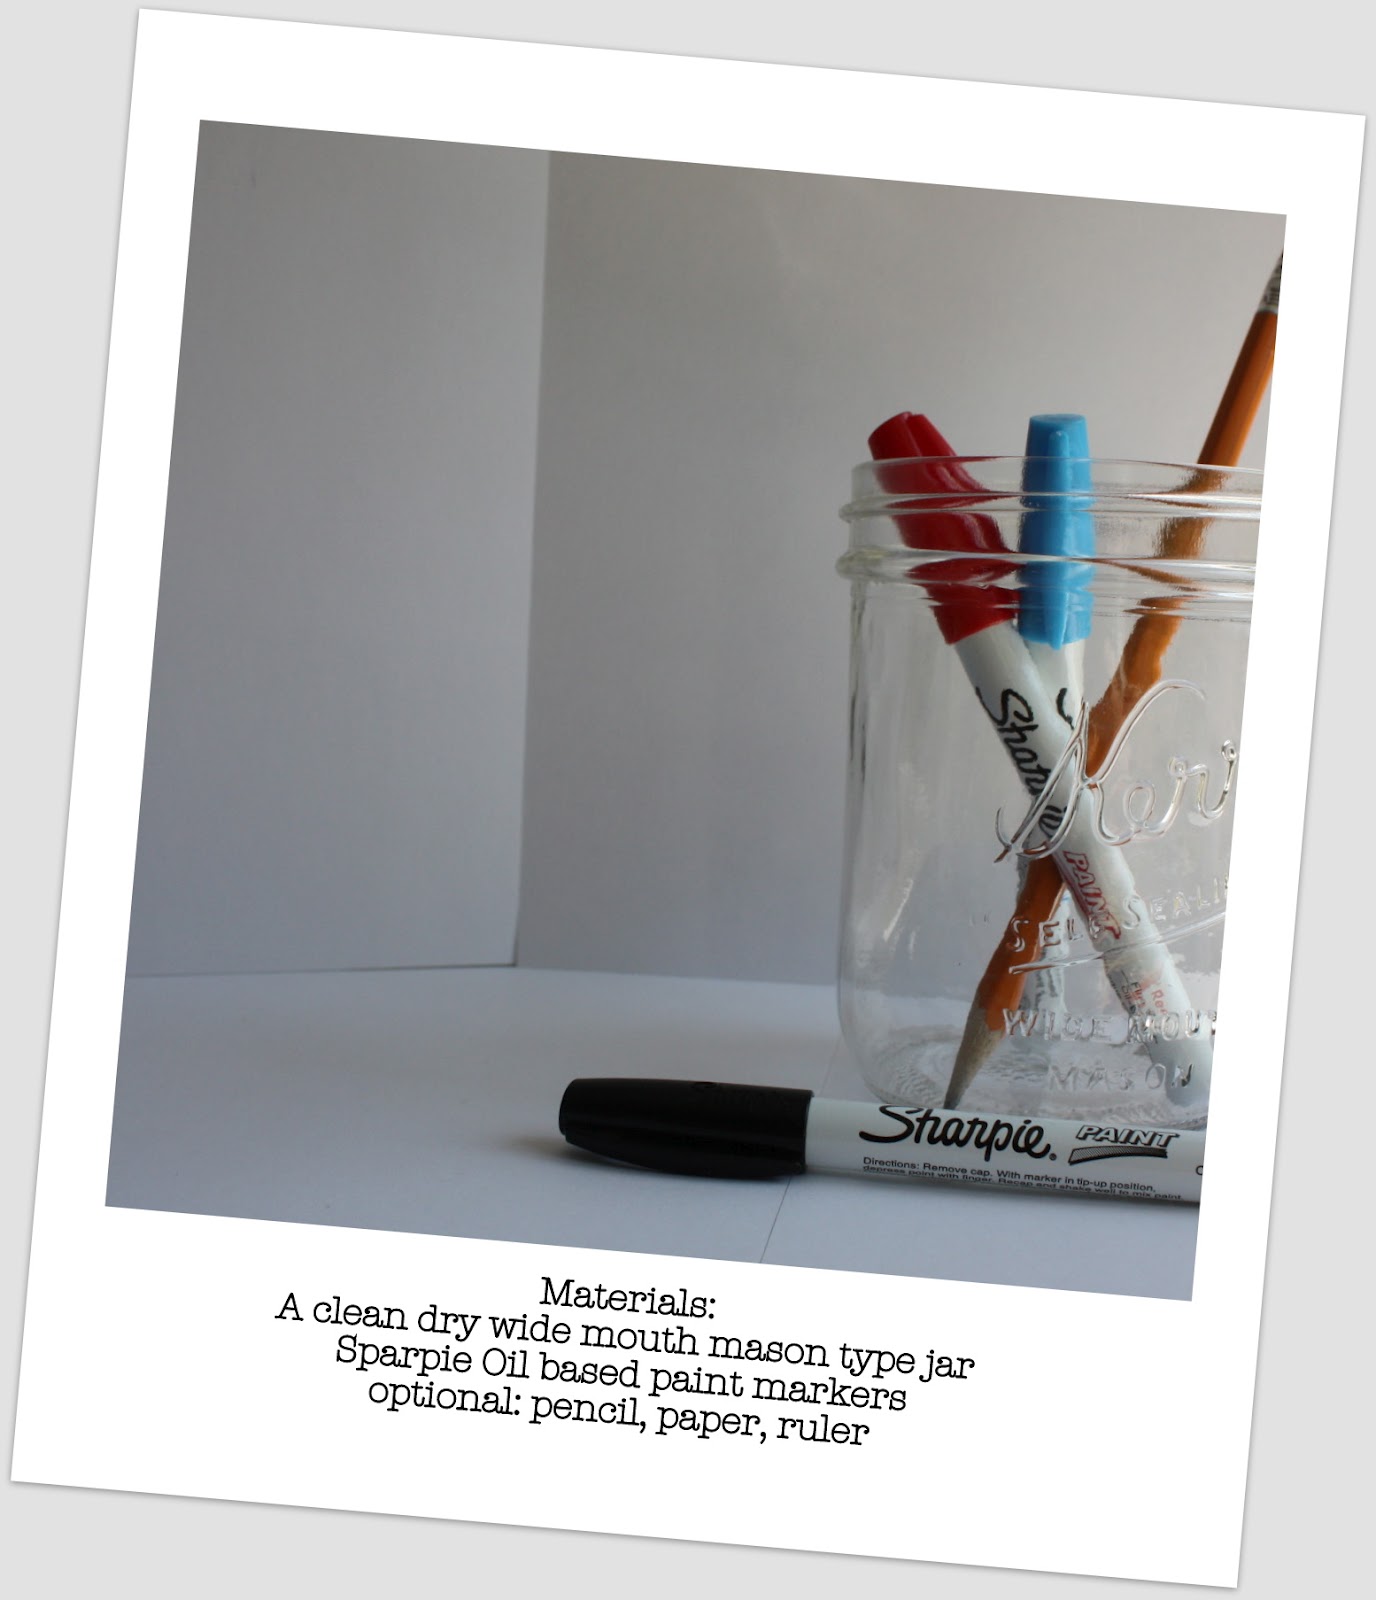
The Cuppow! is a re-usable lid that turns any wide mouth mason type jar into a travel mug! I love Mason jars and there was no way that my mug was going to be plain. After some trial and error with glass paint I discovered the Sharpie Oil based paint marker! These markers worked fantastic for painting on my jar, and seem to be holding up well after a few washes in the sink. They also come in a large selection of colors and points.

The jars and Sharpies are cheap enough that you could make one for everyday of the week!

I couldn't just make one for myself, so I made another DIY so you could make one too!


so....


I am going to give away my smaller painted mason jars (waves and boat as seen above) and a brand new Cuppow! to one of my readers. To enter simply leave a comment on this blog post and tell me:

What favourite summer drink would you have in your new travel mug?

I will use random number generator to pick a winner on Monday July 16th and announce the winner here on this post! So check back to see if you are the winner! Giveaway is open to Canadian and US residents only.
***Contest now closed!

Now go get crafting!

*a few notes... I have not put my painted jars in the dishwasher, I have only hand washed them. I figure the paint will last longer this way.
* Cuppow! now makes a smaller lid that fits regular mouthed jars! Another must have for those little hands!
* I bought all my jars and rings at a local thrift store. It's a good place to look for supplies. The jars were only $.30!

Cuppow! and Sharpie have no idea who I am or that this blog exists. I just really like their product and wanted to share it with you!


Random.org tells me that commenter #1 Turnip the Heat is the winner of the painted jar and Cuppow lid!


Turnip the Heat said "My favorite way to drink out of a mason jar this summer would be to make some iced coffee. Local beans, brown sugar and cinnamon infused overnight in the fridge...I can take it straight to the beach and enjoy the east coast summers with my pup. :)"


Turnip the heat, please email me at pootandboogie@hotmail.com with your address so I can ship your prize!


Monday, July 2, 2012

DIY: air plant octopus! a cute tute!

I was looking around on etsy the other day and stumbled upon some really cool air plants. I remember my parents having air plants around, and I always wondered how they lived without soil. I couldn't stop thinking about them so I went to our local nursery and picked one up. The plant itself was really affordable (like $6 bucks!) and since they seem to live forever I thought it was even more reasonable. There are quite a few varieties of air plants (Thanks google!) but my nursery seemed to mostly have the one that I picked up. They vary in size and shape as well, but since I knew that I wanted one to resemble an octopus I looked for one with long shapely leaves? stems? I dunno, but you know what I mean.

I really liked the way it turned out, so I thought I would share! It was really easy, so much in fact that Poppy made her own right along with me!


Wednesday, December 21, 2011

a merry christmas craft tutorial!


I have wanted to do a tutorial for so long! at last I have found a simple yet effective Christmas craft that I want to share. It is super simple and if you want to make a few they are reasonably cheap!


Step 1: My bristle brush trees had a ugly white plastic base that I didn't want on top of my car. So I pulled it off and rolled up a little piece of brown felt to make the tree trunk and secured it with hot glue.

Step 2: Hot glue your tree to the roof of your car. Using bakers twine or string tie the tree to the car. I wrapped the string around the wheels and then secured the string to the bottom of the car with hot glue.

 Step 3: Set up a little scene and play with your little car for way too long!

Step 4: Place your car in the jar and add snow until it looks like just enough. Cut out a pretty piece of paper to cover the lid and screw the ring on.


Step 5: Place on the mantle, or on a bookshelf and enjoy!

I seriously LOVE these winter jars! I went crazy and made a ton of them, you can see from the pictures that I did a bunch of different things, but basically I used the steps above. These are so simple to make, it literally takes 5 minutes.

Some of my favorites...

I read that you can bleach these little trees so I tried and yes you can! It looks a little dingy white, but with a little dye can you imagine!? the little polar bear was from the small toy section in Michaels. I used an empty jar with water and a tablespoon or two of bleach to turn them white. I kept my eye on the trees and swirled them around in the water/bleach mixture until I liked the color. 

I love the cars and hunted through bags of cars at the thrift store looking for cars my friends and family have to give as gifts.


The tractor is my favourite one of all. This one is for me!

Yup, it's official I love these cars!

I will be keeping my eyes open all year long for knick knacks to put in winter scenes for next year. I will be keeping my eyes open for little gnomes, foxes, wolves, and tractors! I will also be looking for Mason type jars through the year too, I much prefer them to up-cycled jam and pickle jars.

This project came from a mish-mash of ideas that I was wanting to do. I originally had seen snow globe jars on Pinterest for putting gift cards in. I wanted to make those for the gift cards I am giving at Christmas but was nervous about putting expensive gift cards in water. Then I thought I would just make snow globes, but I heard that the green bristle trees I wanted to use lose their color in water so that wouldn't work either. (They do by the way, I tried before bleaching out the white one.) Still wanting to make a snow globe type thing I made these!

I am daydreaming about next winter already!


I really don't like it when bloggers won't tell you where they found their supplies. So here you go!

Mason Jars: Local thrift store (not Value Village) .30 cents each with lids.
Buffalo Snow: Michaels $2.99 with a 50% off coupon! one bag did all 11 jars, plus I still have some left.
Deer, Mushrooms .60 each, .20 each respectively, from Scoop and Save which is a cake decorating store. 
Bristle Trees- Michaels has packs of 22 trees and with 50% off coupon I paid $16.  
Paper- I had in my stash
Toy cars- local thrift store .25 cents

Depending on what you put in your jars, you can do this for under $4 a jar! Fantastic I say!